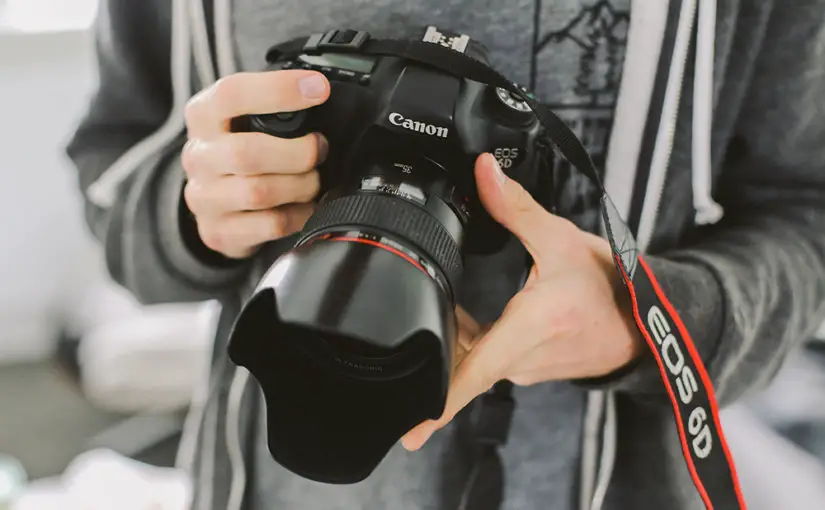
Canon cameras are full of settings and hidden features that sometimes only an adept user of the equipment can find. In this article, we will take you through five hidden settings you may not know about on your Canon DSLR or Mirrorless camera.
Contents
Customizing Autofocus (AF) Functions
In the menus of some of the higher end Canon models, changing the autofocus functionality is well worth doing, especially if you find the AI Servo struggling to keep up with your shooting style or subject.
To change the setting visit the AF menu tab and adjust the setting called “AI Servo 1st image priority”. This setting will alter the AF operation characteristics and more importantly shutter-release timing for the first shot when using AI Servo autofocus mode. Within the menu items there are three options, Equal priority, release priority and focus priority.
Equal priority is a balance between when a subject is in focus and when you press the shutter button. When both of these functions reach an equilibrium, the first photo will fire. Equal priority is the default setting, but it can be a painful experience as many photographers miss the shot due to the camera not reaching the balance of subject in focus and pressing the shutter button.
To counteract this, changing the setting to release priority opens up the possibility of pressing the shutter button down regardless of whether or not the focus is correct. This setting is handy if you want to get the shot no matter what the focus conditions are.
Finally, focus priority will only take the photo once focus has been achieved. This setting can cause a slight delay in the picture being taken; however, it will provide you with all photographs being in sharp focus.
High-Speed Shooting (Maintaining Continuous Shooting)
Did you know if you select Continuous Shooting in your cameras set up menu, then your camera captures images in rapid concession until the camera’s buffer fills?
It’s straightforward, but what you may not know about Continuous Shooting is the camera can slow down the frame rate based on your environment and shooting conditions. For instance, some of the things that can slow down your frame rate include:
● Cold environments, make sure you keep your batteries warm.
● Maintaining a charged battery as the continuous shooting speed may become slower if the battery level is low.
● Photographing in low light conditions as these scenes can slow down the continuous shooting mode.
● Use the correct type of battery; generic batteries can often affect the shooting speed.
Change the Automatic ISO Range
As a default setting the ISO range varies depending on the shooting mode, you have selected. For instance, when shooting in P, A, S or M, the camera will set the ISO to an automatic range of ISO 100 through to 6400. To change this, you will need to navigate to the menu and find “ISO speed settings”.
Once you have located the menu in the camera tab, select “ISO speed range” and then select both the minimum and maximum speeds you want the automatic ISO range to operate between.
The advantage of changing the automatic ISO setting is you can limit the maximum ISO to eliminate any noise that could occur in low-light conditions.
Set a User Defined Picture Style
Canon DSLRs have several picture styles including, Faithful, Standard, Portrait and Landscape styles. Choosing one of these styles changes the color tone of the scene. What you may not know though, is you can program your picture style.
To register a picture style all you need to do is navigate to the camera’s menu and look for the picture style icon. Then select a base picture style like ‘Portrait’ or ‘Landscape’. From here all that’s required is changing the parameters (sharpness, fineness, threshold and contrast) of the Picture Style before saving your new custom profile under either ‘User Def 1, 2 or 3’.
Once you have created the User Defined Picture Style all you have to do is select it in the camera’s menu.
Turning on High ISO Noise Reduction
If you enjoy photographing subjects in low light, then this setting will make all the difference to the quality of your photographs. It does this by reducing the amount of noise generated in the image when using higher ISOs.
To change the setting navigate to the camera menu and select ‘High ISO speed NR’. In the menu, you should find either ‘Low, Standard, High or Multi-Shot Noise Reduction’. Turn the ‘High’ setting and the next time you take a low-light photograph you won’t notice the noise as much!
Hopefully, by reading this article, you may have learned at least one of the five settings. If that’s the case I encourage you to share it with fellow photographers, help spread the word and together we can all become better photographers.
Leave a Reply