Disclosure: This guide on how to start your own blog contains some affiliate links. If you purchase a service through one of these links I may earn a small commission, this is at no extra cost to you.
So, you want to stake your claim on the digital frontier and create your very own blog site…
… and I want to help get you started!
First, Let me welcome you to the blogging community.
You are about to create something that is yours and yours alone. Your own space where you can share your ideas, expertise, feelings and, maybe even, services. You will unlock a world [wide web] of potential opportunity.
How does that sound? Exciting isn’t it? Now you may be wondering, “Where do I go from here?”
Well, you landed here because you are doing your research and learning all you can about all the steps required in building your thin slice of web presence. However, in all likelihood, you will only find yourself with more questions. Which is why I have written this guide to help you build your blog.
My goal is to help you navigate through the process of creating your blog simply and quickly.
Starting this process off on the right foot can make the difference between your blog being successful or seeing it join the ranks of the many inactive blogs out on the web.
So without further ado, let’s get started, shall we?
Contents
What do you want to blog about?
It all starts here, and you should not overlook this step. Take the necessary time to brainstorm and decide what the topic of your blog will be, more commonly known as your niche.
Blogging is a time-consuming undertaking and you need to be sure that you absolutely know and love your blog topic. Your niche is where your knowledge and your passion meet. Unfortunately, it is only a matter of time when you hit the wall and you will…
…So, go on and ask yourself, if you are exhausted and the last thing you want to do is write an article, will you love this subject matter enough to overcome these inevitable roadblocks.
Taking the time now to figure this out, will make the following steps in the process of creating your blog easier and help ensure that your site does not fizzle out for lack of interest by you, the author.
WordPress – To Host Or Not To Host
You’ve completed all your requisite existential introspection and are armed with an overpowering sense of purpose.
Now, it is time to start addressing the logistics of your new blog site starting with choosing which platform you want to use to build your blog.
You will need to choose from a plethora of platform options. A few of these options are: WordPress, Wix, Blogger, Squarespace. Weebly, to name a few. However, I would highly recommend choosing WordPress as the platform for your blog.
As of Oct 2018, WordPress states that it is “currently powering more than 28% of the web.”
As of January 2018, the number of websites on the internet was over 1.8 billion sites, this means that approximately 450 million sites are running on the WordPress platform. It’s almost a virtual certainty that your favorite blogger’s website is running WordPress. By choosing a platform now, you make the process easier for yourself down the line.
With those statistics in mind, I will assume that you’ve chosen to move on with WordPress, so now you have two basic flavors of the site, more commonly known as hosted (wordpress.com) and self-hosted (wordpress.org)
This comparison chart from wpbeginner.com is an in-depth list of the pros and cons of both versions of the WordPress platform.
While a hosted WordPress site is free, you do concede a great deal of control of your blog site. If you want your blog to be fully customizable, have plans of building a long-term business and look to monetize your blog, then you want to build a self-hosted site.
Ok, if you’ve elected to opt for the self-hosted option. You’re ready to move on to the next step!
Pick a domain name
I will not sugarcoat this; this will be a daunting task. I mean, this is the name of your blog…your business…your baby! You, not only, want the name to be the right one, no; you want it to be the perfect one. If you took some time after step 1 to work on your topic/niche, then you are ahead of the game and well on your way to zeroing in on the domain name you seek.
If you are still undecided about the topic of your blog, I suggest taking a moment to do so before even thinking about picking a domain name.
In addition, you can check out my article, How To Pick The Right Name For Your Blog, which goes a more in-depth with tips and some tools to choose the right name for your blog with social media in mind.
Now that you settled on what the topic of your blog will be, let us put that to some use right now!
The name of your blog is important because it gets the point across to your audience what type of content to expect. It does not have to be so focused that you run the risk of boxing yourself into a certain type of topic or content type.
First, you want to start brainstorming some keywords in within your topic space. Generate a list of as many keywords as possible until you can no longer think of any. At this point, you should have a decent collection of words you can use to formulate your blog name.
For a photographer, words like “camera”, “lens” and “stop” are easy common words. However, you can dig further for more focused words like “portrait” or “lighting” to let your potential readers what they can expect.
If you intend on including yourself and want to connect with your audience, then I’d suggest personalizing your blog with your name or something special to you that you can being your readers in on. For me that could be something like, “Joel’s Camera Stop,” or “Joel’s Lighting Darkroom.”
A word to the wise, try to avoid overused words. You definitely want to differentiate yourself from the thousands and thousands of blog sites out there. For example if you’re in the travel space, then it advised to stay away from commonly used words like nomadic, and vagabond. You won’t be able to stand out using words overly stood on!
Now that you have a shortlist of potential names, run them through the domain name checker below to see if any or all of them are available for purchase. If all your name choices are unavailable, try modifying the name with words like “the”, “with” or “my” and see if that works.
Use this form to check if your desired domain name is up for grabs!
Congratulations! Now that you have the name of your blog, you want to buy it, as soon as possible.
I had the unfortunate experience of finding a domain name I liked but did not act on it, when I went to purchase it after some hemming and hawing, I found that someone had beaten me to it. DOH!
Choose a Hosting Company
If your hostname is your address on the web, think of a host a digital plot of land for you to rent to build on. There are so many companies out there offering domain space.
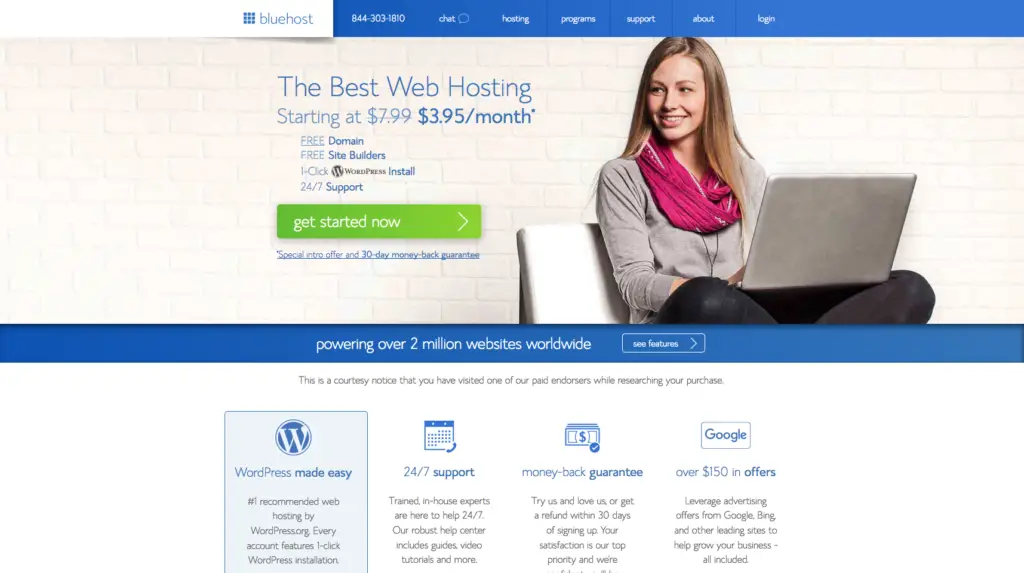
I’ve tried a few hosting companies over the years, but the hosting company I recommend for the new blogger is Bluehost. Bluehost offers some of the cheapest prices for the features and tools provided. Click on the Bluehost link to begin setting up your site!
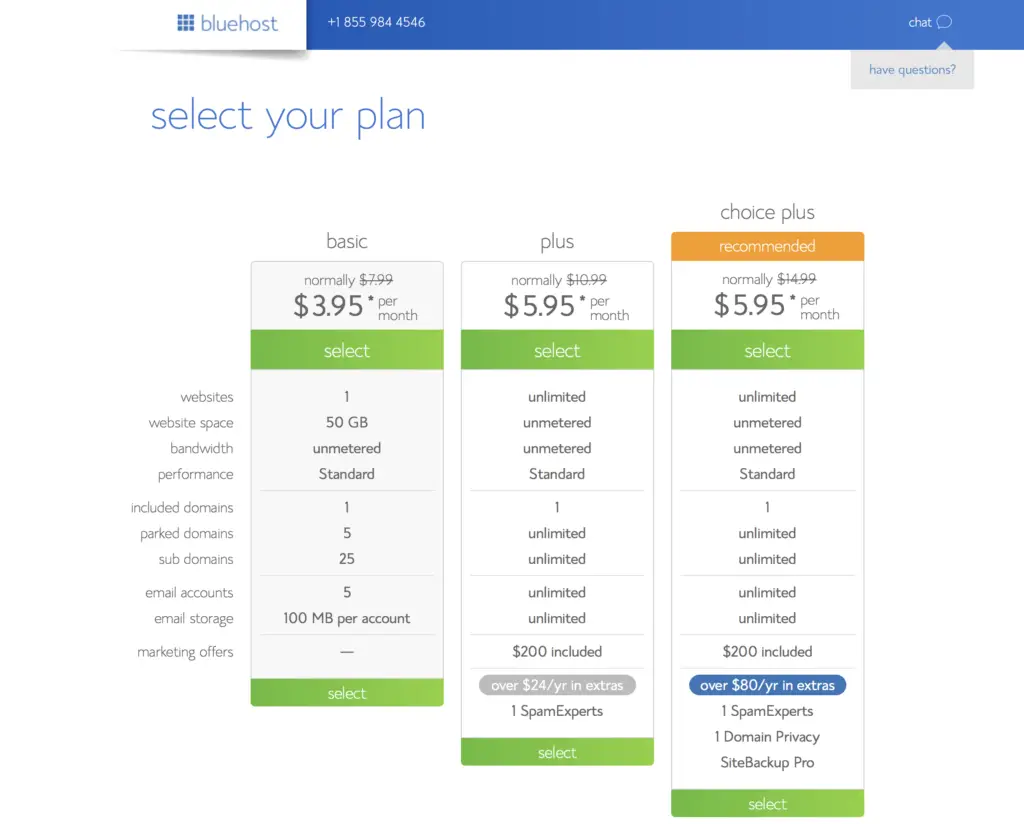
They offer three plans to choose from: Basic, Plus and Choice Plus. Each plan includes a free domain name with purchase, saving you approximately $10 in the first year.
If you’re just starting out and want to dip your toe in the water, the Basic plan for 1 year should suffice with a minimal financial investment. However, if you’re in it for the long haul, then the Plus package for a multi-term will save you some coins over time.
Another hosting company I recommend is HostGator.
For demonstration purposes, I’ll be using Bluehost to setup my example site.
After choosing your plan, you’ll enter the domain name you’ve already chosen from the steps above.
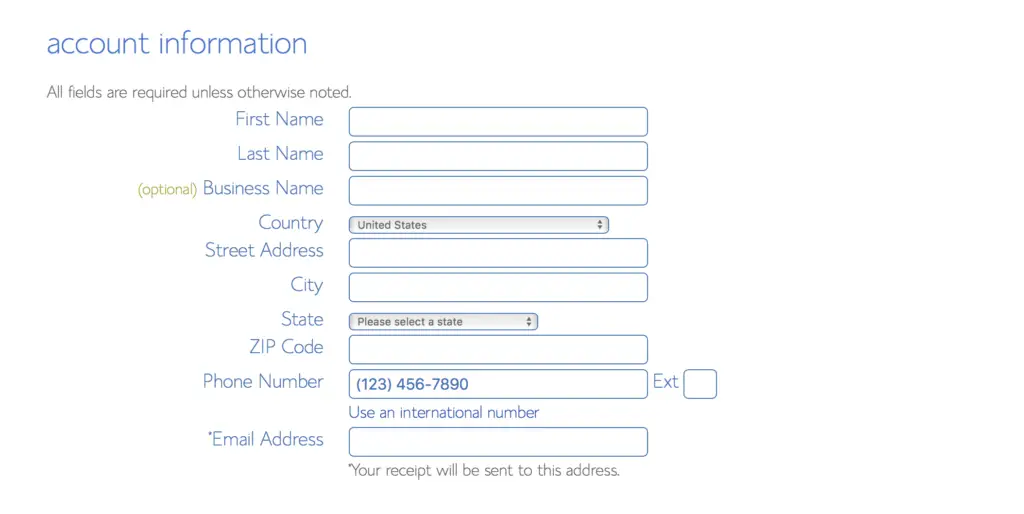
Now you’ll be prompted to create your bluehost account,
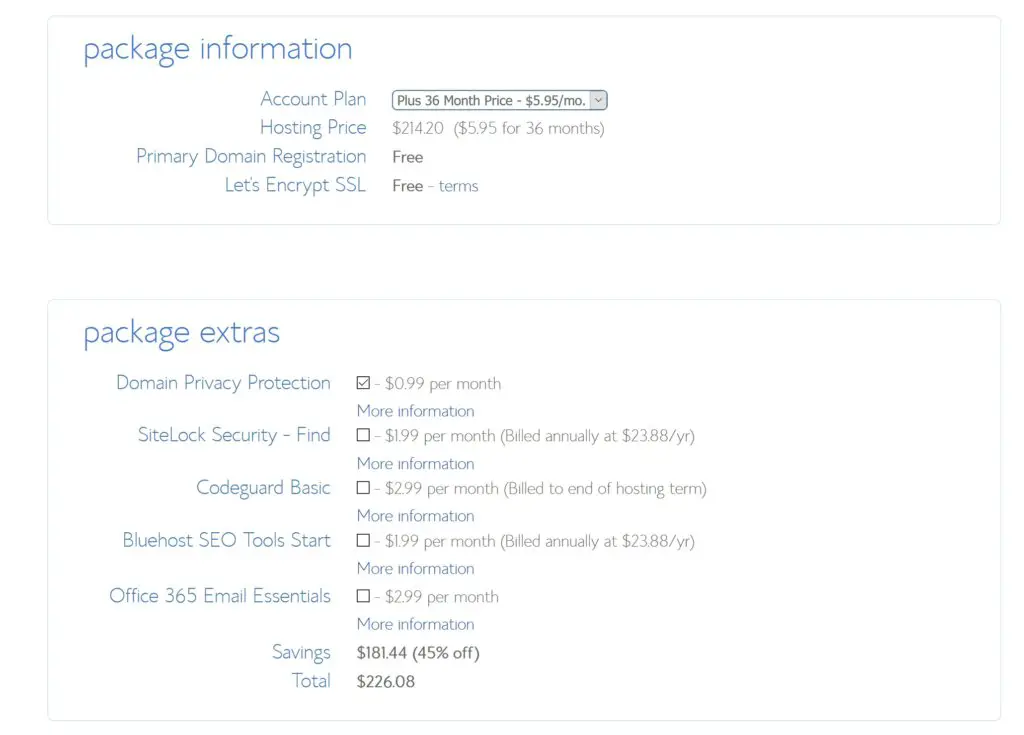
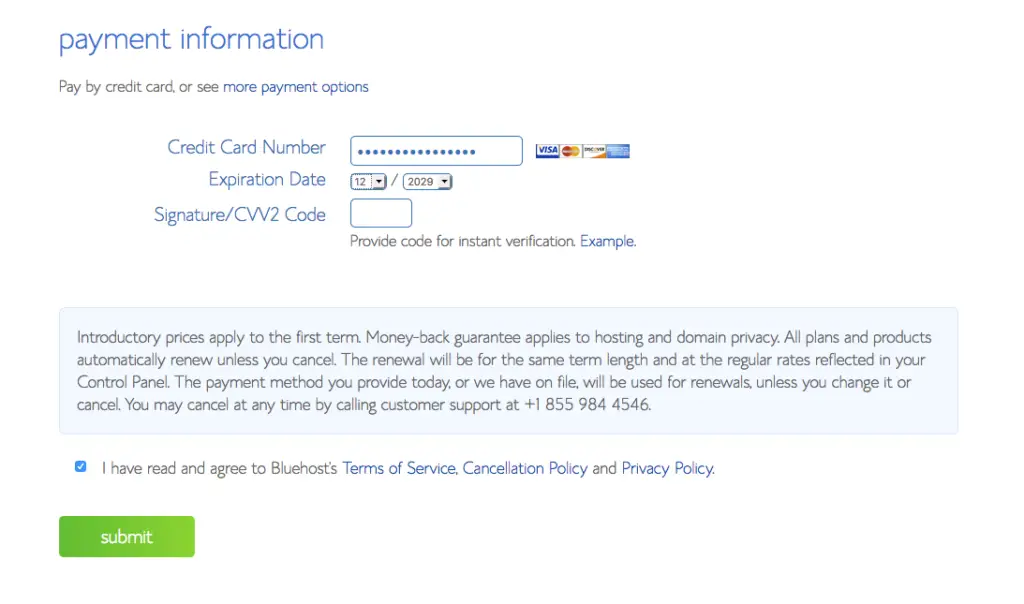
Next, Pay attention to deselect any pre-checked options that you may not want or need! The only extra I’d recommend is Domain Privacy Protection to protect your personal information used to setup your account is not visible in a WHOIS domain lookup.
Install WordPress
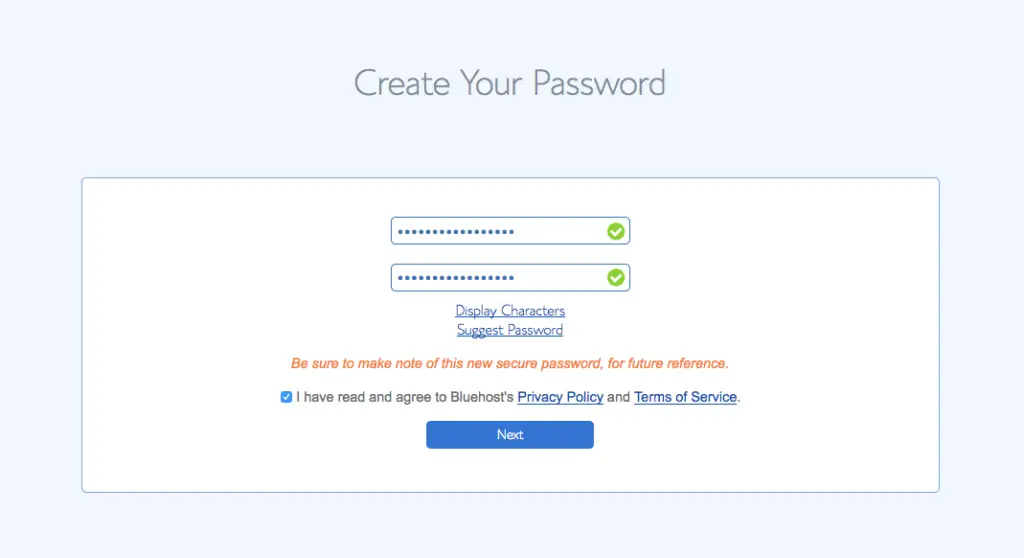
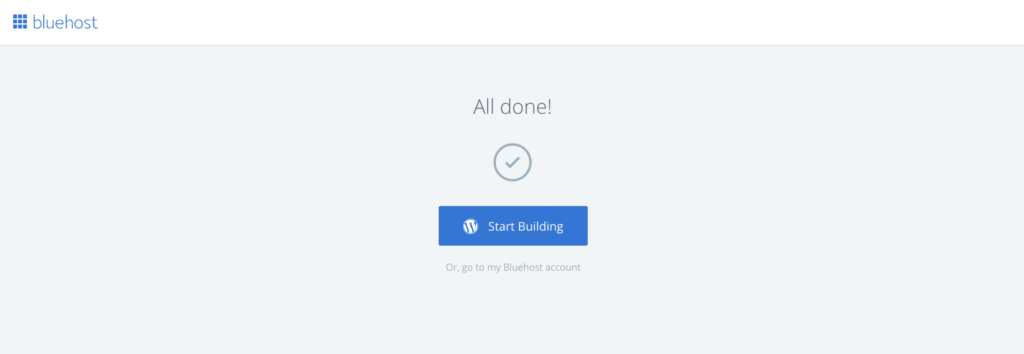
The great thing about Bluehost is the seamless WordPress install process. Once you buy your hosting package WordPress gets installed for you and is left in a deactivated state. You’ll first be prompted to set your WordPress password.
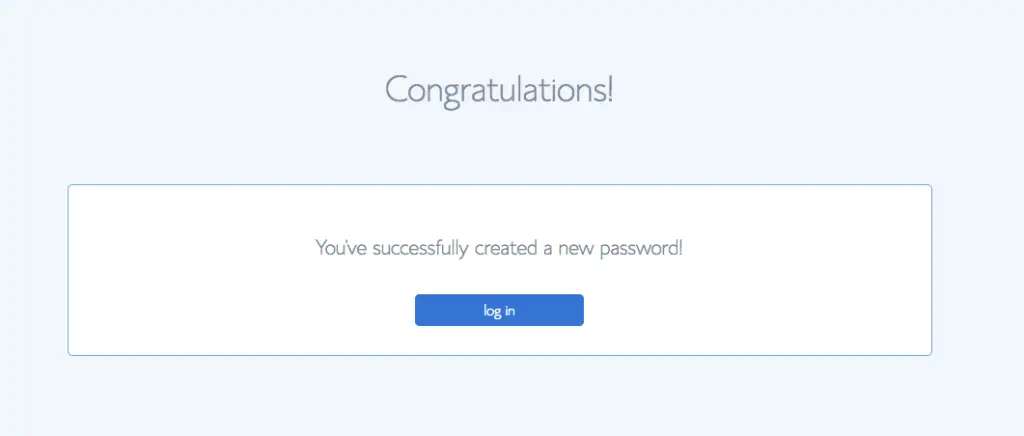
Done!
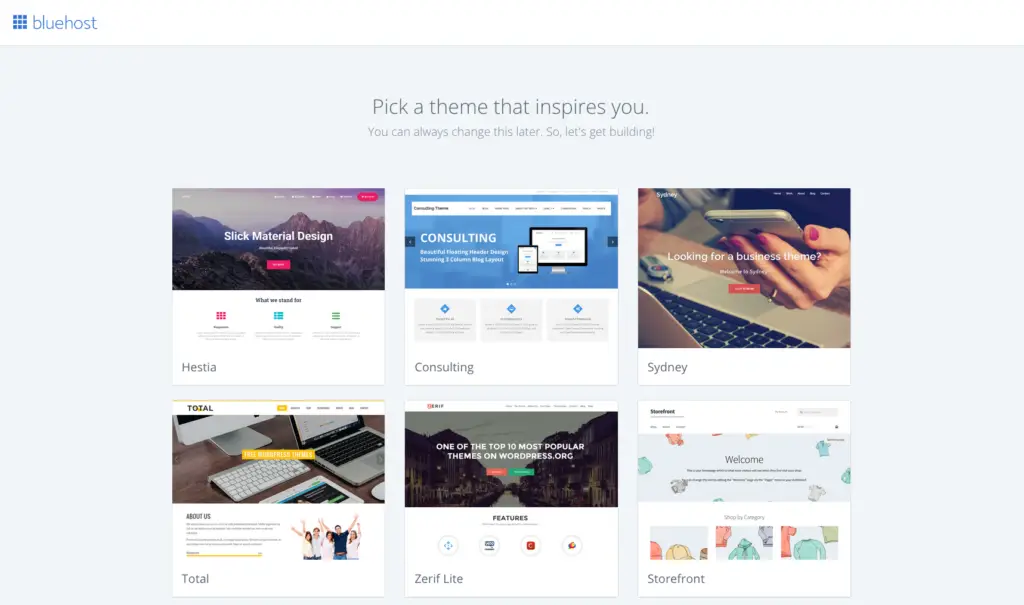
Only a few more steps before your site goes live! Now, you need to choose a theme. You can quickly pick one you like from the ones offered. Don’t think to hard on this because you will be changing this in the immediate future so something more “you.”
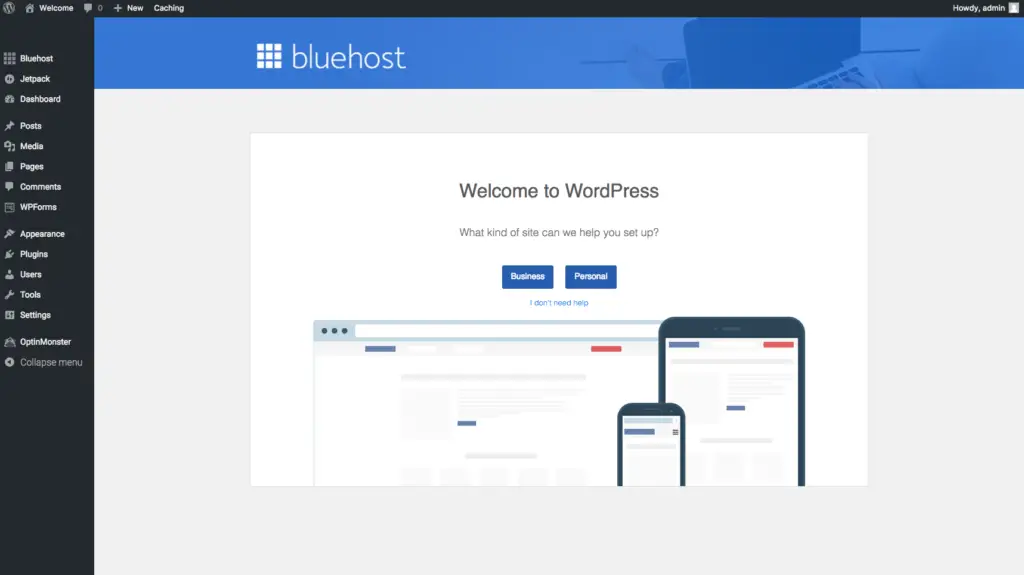
Nice! Next, choose business for the type of site you want to be set up.
Now, you’re at the WordPress dashboard, click the launch button
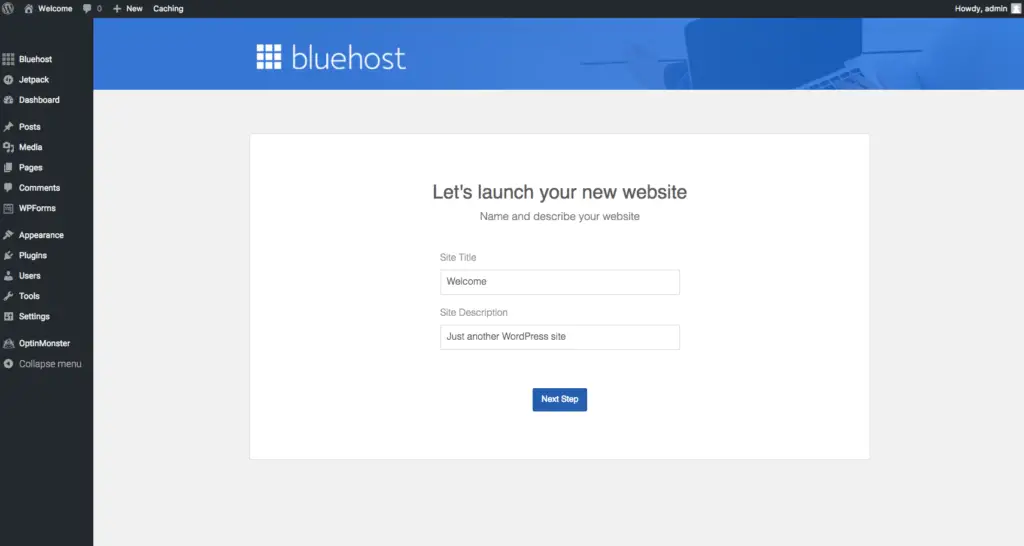
Before your site goes live, you’ll be prompted to enter you site name and slogan. If you don’t know what your slogan will be, don’t worry, you’ll be able to change this easily later on…
Et Voila! Congratulations, your blog site is live!!!
Find a WordPress Theme
You’ve probably checked out your site and realized that it’s pretty vanilla and boring at this point. A theme will change all this for you.
A theme is a collection of stylesheets and page templates created to deliver a unique appearance to a WordPress site. These can range from basic free themes like the one you chose when setting up your site to beautifully customized and expensive themes and everything in between.
I highly recommend buying a theme because these themes usually come with support, which will be a time and life saver in the long run as you start to install plugins for added functionality. The three sites I recommend for finding a theme are:
- Genesis framework – Themes are highly customizable, but difficult make those customizations, since you need to know how to code changes to stylesheets and templates
- Elegant Themes – I recommend that you look into the Divi theme! It is highly customizable and very user friendly. It is easy to make changes using their visual builder, well, visually. You modify virtually every element of the theme without ever needing to code a single page. It’s pretty powerful. As a value add, they release a pre-created community layout every week, so chances are there is something available to help you hit the ground running.
- Themeforest – The themes on this site offer limited customization options and support. What you see is what you get, but some themes are very nicely done.
Plugins To Get You Going
Some plugins I recommend to get you started are:
Akismet – Great for stopping spam on your comments. Unless you disable the comment functionality on your site, comment spam will be a problem. Akistmet is a free plugin that does a fantastic job of protecting you comment board.
Jetpack – created by wordpress and it add a long list of functions, features and security enhancements to your wordpress site.
Wp fastest cache – this plugin improves your page loads speeds by creating static snapshots of you blog site that will be served up to your readers.
Yoast SEO – Yes, this is a must. You will learn to love search engine optimization or SEO for short. It’s a good idea to get on your site and keep SEO in mind in from the off.
Sumo, Monarch(Elegant Themes), WP Social Sharing – For image and content sharing. These plugins make it easy for your readers to share and link back to your content.
Now that your blog is live, the real work begins. If you’re here and wondering what’s next, well, you’re not alone or you don’t have to be, at least.
Recommended Next Steps
Your blog is now live and no you may be asking yourself, “What’s now?”
I know, I was there.
I was fortunate enough to stumble upon the Superstar Blogging Courses by Matt Kepnes, more widely known as Nomadic Matt.
This has been the best investment in my blogging journey that I have made. Matt’s course is invaluable because not only does it walk you through the blog creation steps with in-depth instructions, but you also become part of an active community of bloggers at varying stages in their blogging journeys. The best aspect of the community is that everyone is willing to help each other, from the newest member all the way up to Nomadic Matt himself. I consistently find myself going back and referring to different modules that are constantly getting updated. Those in the community will become your friends and support you along the way and you may end up traveling the world with them like a group of us did to Ireland (Post Coming Soon). Check out the Superstar Blogging site to find out more information about the course.
Now, there is even more value with the introduction of Nomadic Matt’s TravelCon. TravelCon will become the gold standard in conferences for travel media & travel content creators. I highly recommend anyone getting into travel blogging game to attend, you will not be disappointed.
Highlights from TravelCon 2018 – Austin, TX
TravelCon – The place to learn the business of travel media
If you find that you cannot make the conference in person, all the speakers and workshops will be recorded and made accessible with a Virtual Ticket. For a year, you will have the ability to watch your favorite speakers and their presentations as many times as you like. I still go back and refer to the information shared in the 50+ workshops available from the last TravelCon.
That’s it! I want to wish you great luck in your blogging pursuits and I hope to see you on the blogosphere and maybe even at the next TravelCon.
Disclosure: This guide to starting your own blog contains some affiliate links. If you purchase a service through one of these links I may earn a small commission, this is at no extra cost to you.



Leave a Reply