Contents
What every photographer should have in their bag to be ready for the next shot!
There’s almost nothing more frustrating than coming across that perfect moment — golden rays of sun precisely encapsulating the size of a saguaro cactus, or the Milky Way coming out in the perfect darkness of a new moon in Western Texas — and realizing you don’t have the right gear to capture the scene.
Whether you’re a photography beginner or updating your existing cache of gear, it’s vital to take stock of the essential components in every photographer’s bag. As long as you keep these items close by, you’ll minimize the chances of missing a shot, and you’ll increase the likelihood of pulling out your equipment to play.
Don’t underestimate the value of having gear close by: One of the absolute best ways to increase the overall quality of your photos is to keep taking pictures, no matter where you are.
Please note, this list of camera accessories works best for those shooting with a DSLR or a mirrorless camera. There are plenty of used and older DSLR models, like the Canon 80d, that are perfect for novice and intermediate photographers who want quality photographs on a tight budget.
Plus, the benefit of a camera like the 80d is that you can see the way the light triangle interacts in your camera on a large display. If you’re still unsure of exactly how aperture, ISO and shutter speed work together to make a picture, it’s an excellent opportunity to sharpen your skills.
The Lens
Shooting with a kit lens — AKA the lens that came on your camera when you bought it — is fine at first, but you should expand your lens collection if you’re serious about your art, and want malleability in what you’re taking pictures of.
If you want to shoot portraits of people or domestic animals you can get close to, like a dog or a horse, then go with the nifty fifty. It is a great, inexpensive lens to start with because it can be used for so much you’ll come into contact with on a regular basis. It does come with its challenges because it’s a prime lens and that can be frustrating if you’re used to zooming in whenever you want. But remember that the quality is going to be better on a fixed lens than a lens that has the capability of zooming, and it’s the perfect way to teach yourself to work within your frame.
In today’s day and age, we’re so used to zooming with the pinch of a finger or a slide on a point-and-shoot. It’s exceptionally valuable to work within the confines of what your lens is giving you, and is much closer to the experience you’d have working in a professional setting.
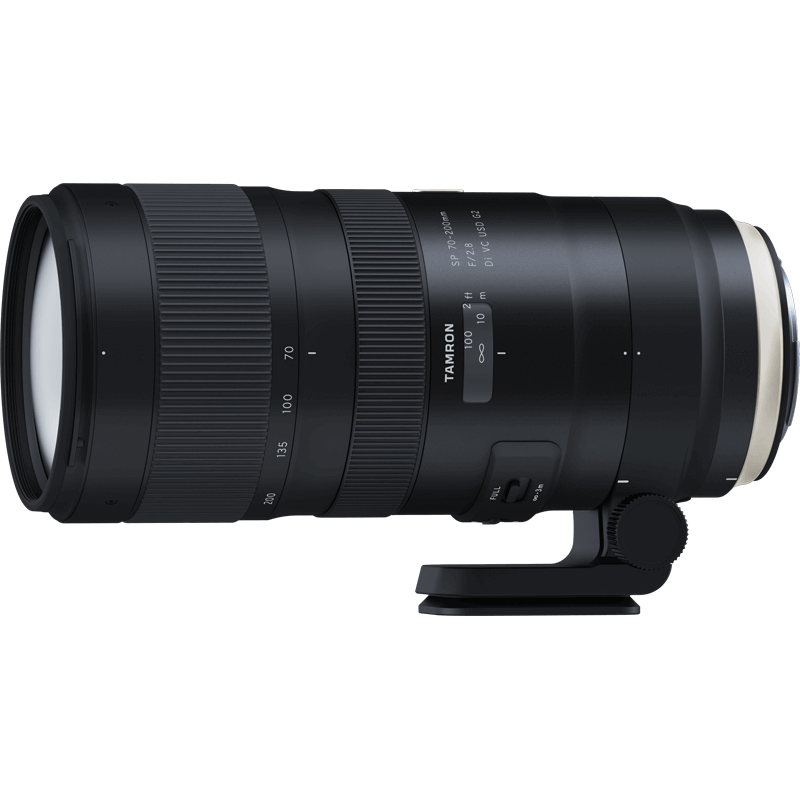
Read more about my personal favorite lens in my post on the Tamron 70-200mm f2.8 G2 for Canon.
A Tripod
It can feel irritating to drag along a tripod, especially if you’re flying somewhere or going on a long hike. But find a lightweight travel tripod like the MeFOTO Classic Aluminum Roadtrip Travel Tripod you can stash in your car or a duffel bag, and you’ll forget you’re lugging it along until suddenly, it’s vital to have.
If you want to replicate an incredible cityscape with blurred red and yellow car lights rushing along the highways, or illuminate the moonlight on the water beneath the Brooklyn Bridge, a tripod is an absolute necessity. This is because you have to take a longer exposure in order to capture that type of light and movement, and your camera will pick up the slightest tilt — even the breath moving in and out of your chest — if you try and hold it with your hands. At best, this causes slight blurs and takes away from the crispness of your photo. At worst, it blurs it beyond all recognition.
If you want to learn photography in a more in-depth way, buy the tripod! Check out my post on the best lightweight tripods for travelers!
Extra batteries
Say it with us: I will not leave uncharged batteries in my camera bag. Say it one more time, and then again. We know you aren’t in the mood to pop them on the charger when you’re exhausted from shooting all day, or you just got off a plane, or you have work in the morning.
But as soon as you’re physically able, charge the ones you just used again.
You should always have a surplus of charged batteries in your bag, because you just don’t know when you will need them. Maybe you’re traveling in India and suddenly realize it’ll be two days before you can get a wall converter for electricity. Perhaps your Mozambican resort turns out the electricity after 10pm in order to conserve, and you have a dolphin tour at dawn.
Maybe your niece’s birthday party is lasting twice as long as you anticipated and every single seven-year-old — and their parent — wants to see the portraits you’ve been taking all day.
Batteries get drained, and you should be focusing on the dolphin, or birthday cake, or sunrise in front of you. Not the blinking red dot on your DSLR.
Extra memory cards
This might sound like a waste of money, but trust me: Buy a few 64GB SD cards that are empty and live in your camera bag, and do it online — they’re cheaper on Amazon than in-store.
I know your upcoming trip to Costa Rica has taken months of planning and you can’t wait to photograph capuchin monkeys and toucans, but you’re going to be up a mountain without a walking stick when you’re romping through the rainforest in Monteverde and realize you’ve filled up all the memory cards you brought — with no laptop back at the hostel to dump them on — and there’s still four days left on your adventure. And if you think one 64GB memory card will be enough for a week-long trip, think again.
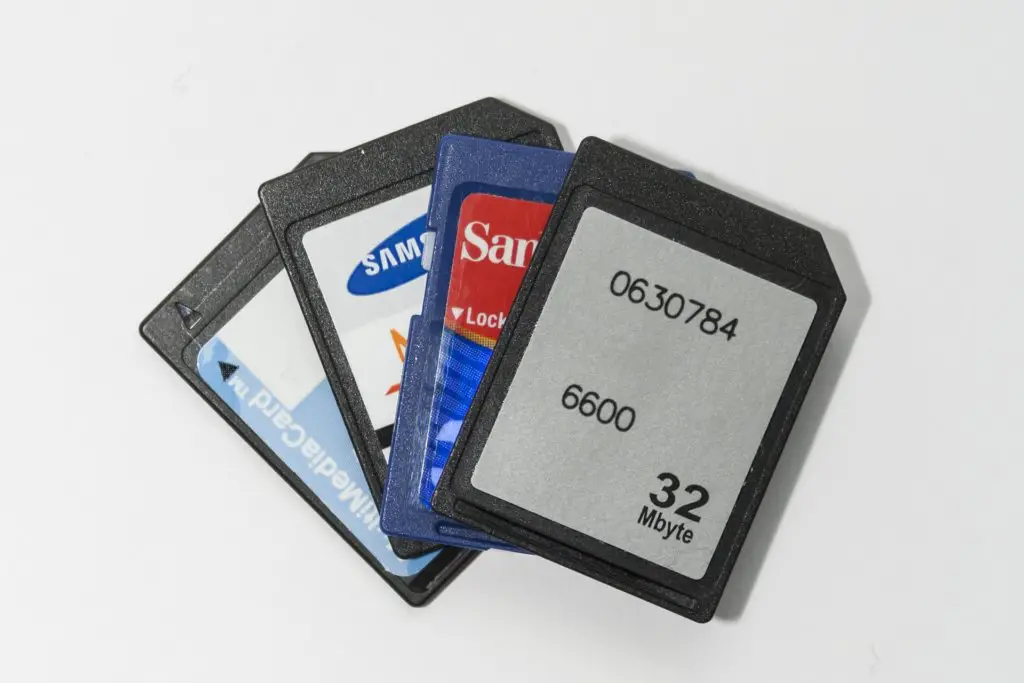
If you haven’t already gotten this advice, take it now: You should be shooting in both .JPG and RAW. Most everyone is familiar with a .JPG file, but a photographer should know that the .JPG is a compressed file, and the quality and file size is compromised as a result.
If you want to print out a picture, send it for submission to a publication, or post it really anywhere in its highest quality, you should have that raw file available, and know that it simply takes up more space on a card, or a computer, because it’s a bigger file.
External hard drive
Talking about raw files is a perfect segue into discussing external hard drives. If you work in video or any other kind of production, you already have one, two, maybe ten of these. If you’re newer to this, buying one is perfect for starters.
This is the place where your pictures will live, because your computer just isn’t going to be able to handle a sustained number of gigantic files over time. Best case scenario, your machine slows down as it tries to work with all of those pictures on its hard drive. The worst case scenario is that you delete pictures to save space, and we strongly advise against doing this unless they’re seriously bad.
Having pictures you can look back on gives you a ton of context and information about how you got the right shot, how you’ve improved over time, and what to change for next time. It also allows your more experienced self from the future to look back on these files with new eyes. That picture of the Golden Gate Bridge you were sure should be deleted? The more experienced you just took a peek and saw potential you couldn’t at the time.
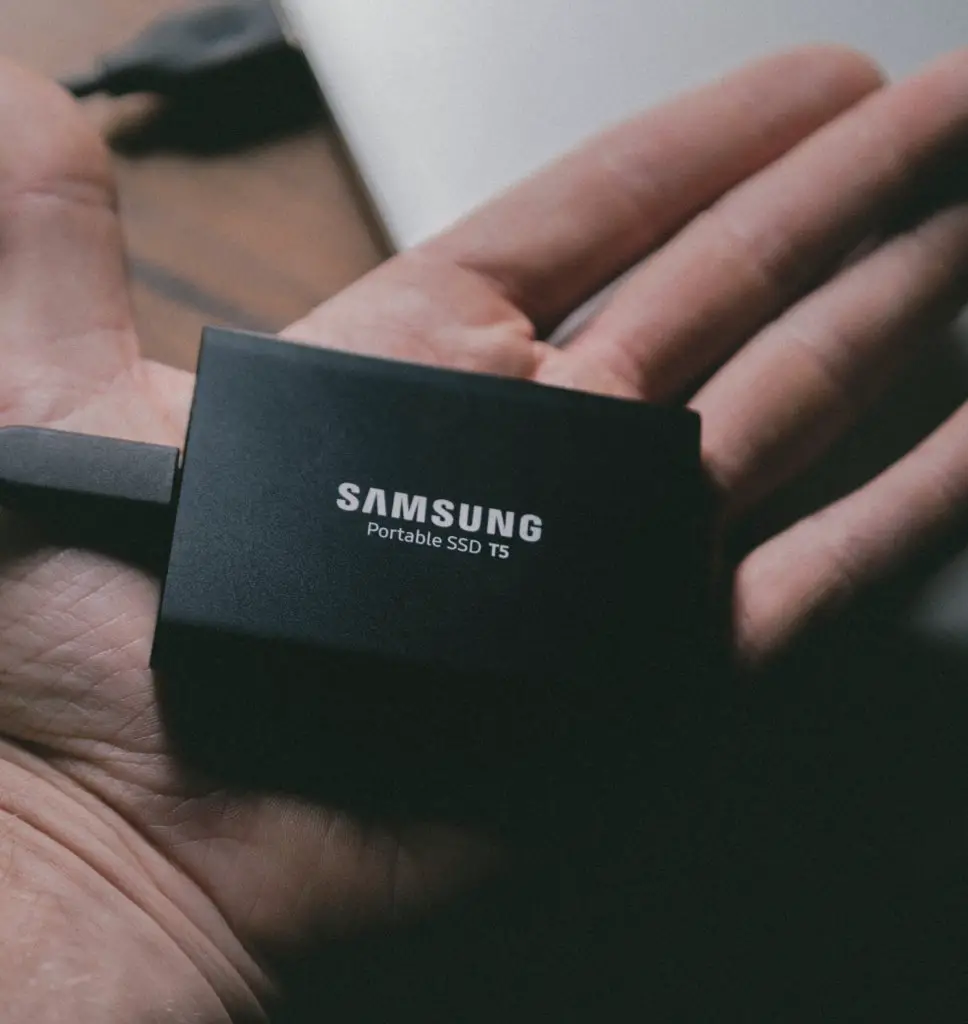
A 1TB G-Drive is perfect for a novice or intermediate photographer, however, the drives I recommend are the Samsung T5 1GB SSD drive or the Sandisk 1TB Extreme Portable SSD.
Remote shutter release
Your kit is starting to come together. You have a camera with a great lens, a tripod for low-light situations and nighttime exposures, and your bag has a few extra memory cards and batteries in it. By purchasing a remote shutter release, you’re elevating the game a bit.
What is it, exactly?
Think of it like a selfie timer for your camera, used to capture big moments that you may or may not be present for. A remote shutter release is perfect for shooting dangerous and/or skittish wildlife, like bears, moose, deer, or big cats. It’s also key for shooting lightning or storm cells, and is a requirement for photographers who have gotten credentials to shoot a space launch at one of NASA’s locations around the country. Space enthusiasts, take note — you don’t have to be a professional to get access to a launch. Do your research and apply if you see an upcoming launch you want to be present for!
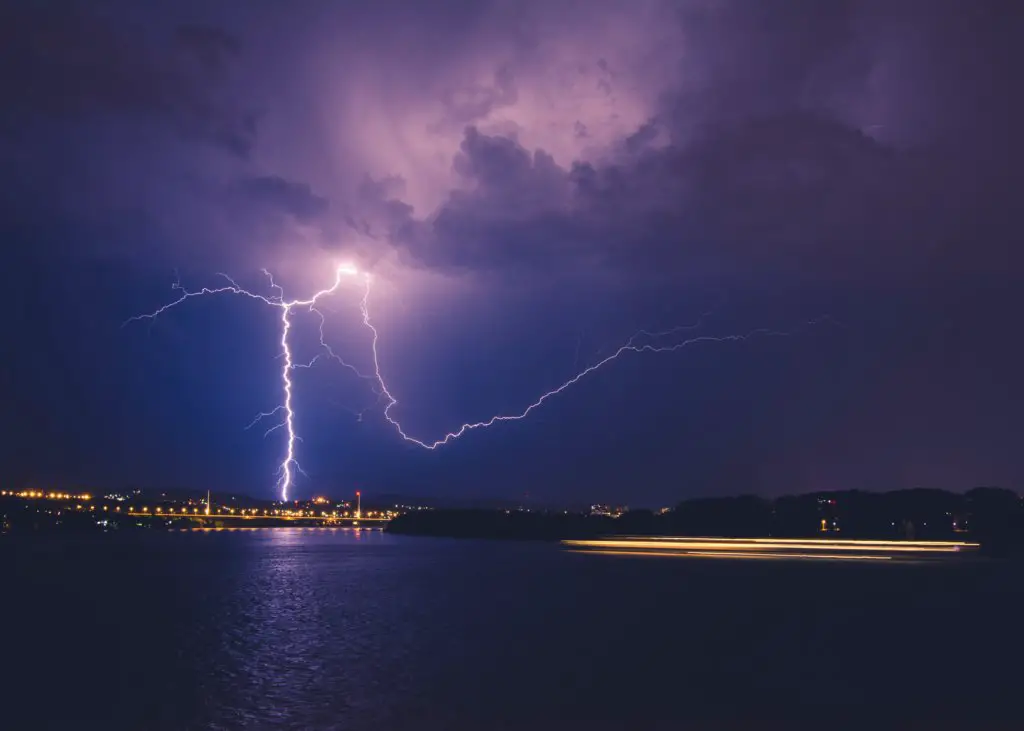
A remote shutter release that can detect lightning will help capture shots like this!
Let’s talk a bit about what you’d experience on base at NASA, and why it’s vital to have the remote shutter release — for a launch or any of the other examples we’ve already noted. For starters, you’ll use all of the items in your bag for a remote shutter release: Your camera, tripod, extra memory cards and charged-up batteries are a must. At NASA, base employees will escort you to different locations where you can set up your gear.
Pro-tip: Choose a location farther away from the pad to minimize the chances that debris, or an accidental explosion, will hit your camera when it’s go-time.
If you’re shooting wildlife or lightning, you’ll follow similar protocol: Set up your camera, double-check the settings for what you’re trying to capture, make sure your tripod is sturdy and, if necessary, supported by a tree or nearby bushes. If you have an all-purpose remote shutter like a Miops, you’ll be able to link the device with your camera and your phone at once, so you can press the button on your smartphone to take photos. Alternatively, you can set the Miops to take a photo based on sound, lightning, time lapse, vibrations, etc. It truly allows you access to take photos you otherwise wouldn’t be able to.
A storm-proof raincover
These lightweight, low-cost camera and lens covers are the secret lifesavers in every photographer’s bag. On New Year’s Eve in 2019, it rained coldly and endlessly in New York City’s Times Square. This photographer would have had to pack up and go home early without a storm-proof raincover that protected both lens and camera from the frigid, torrential downpour.
And really, the weather can turn in any situation: At the Cliffs of Moher on the West Coast of Ireland, various tourist attractions in Iceland, or just a regular summer day literally anywhere in Florida. It’s especially important to cover your camera if you’re setting up a remote shutter release, because even though the sky looked great in the morning, it can turn suddenly by noon, and you can’t exactly walk up to your gear and wipe off the rain if it’s set up behind NASA’s locked-down gates, or there’s a grizzly bear mother with her cubs lingering nearby. Most of the time, you’ll forget that the raincover is even in your bag, because it’s so light and easy to fold up into a spare pocket. But you’ll thank us at the first sign of a drizzle, and you definitely shouldn’t put your camera away if it’s begun to rain. Playing with the reflections of city lights in a puddle, or snapping a rattlesnake that’s been flushed out from its rocky hiding places, make weathering the storm worth it. Especially since you’ll be prepared.
Lens Cloth
These little swaths of cloth are small but vital, much like the storm-proof raincover. You’ll need them to wipe droplets of rain off your lens, to get rid of any accidental finger smudges or specks of dirt, or even residue that’s collected on your lens from the environment you’ve been in. This residue can be anything from the salt of crashing and splashing waves to high-humidity condensation situations like those you might encounter in Southeast Asia. These are also helpful if you’re shooting with a filter, and the filter has taken the brunt of the residue.
And please, don’t use the corner of your t-shirt unless it’s an absolute emergency. Think of your camera lens like your glasses, and your camera like your eye. Your lens is expensive and easily scratched or tarnished! Treat it with care. When your lens is off your camera, make sure to put a cap on any and all exposed vulnerable parts of each. You really don’t want dirt or residue getting on your mirror or inside your DSLR — that means a trip to the camera repair shop is in order.
External flash
The external flash is another way to elevate your photography kit, and is especially useful if you are shooting subjects who are backlit or stepping out for a night on the town. Some real-world situations in which we wished we’d had an external flash: A beach bonfire in San Diego, Joshua Tree National Park at midnight, and a poorly lit indoor birthday party in Pittsburgh.
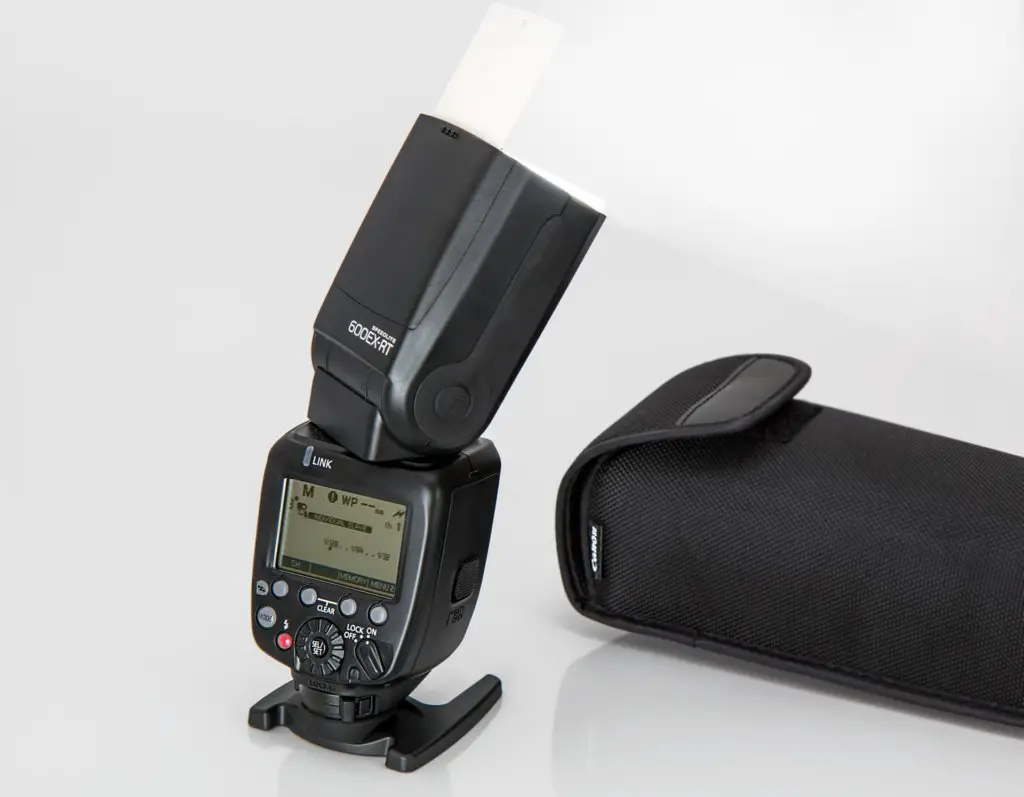
If you’ve mastered the remote shutter release, you won’t have a problem operating the external flash. And unfortunately, you do need to buy one separate from the one that comes on your camera. Like the kit lens, it’s fine to start with, but if you want to take truly exceptional photos that need a burst of light, the external flash is the way to go.
Camera bag
Last but not least, you need a place to put all of the gear we’ve told you about in this post. While you don’t need to spend hundreds of dollars on a camera bag, it’s important that you balance your financial needs with getting a case, container, or backpack-style camera bag that will protect your kit. Everything on our list adds up in price, and it will all last you a long time — as long as you take care of it, whether you’re on the road-trip, an international flight, or it’s just sitting in your closet until you’re ready for the next adventure.
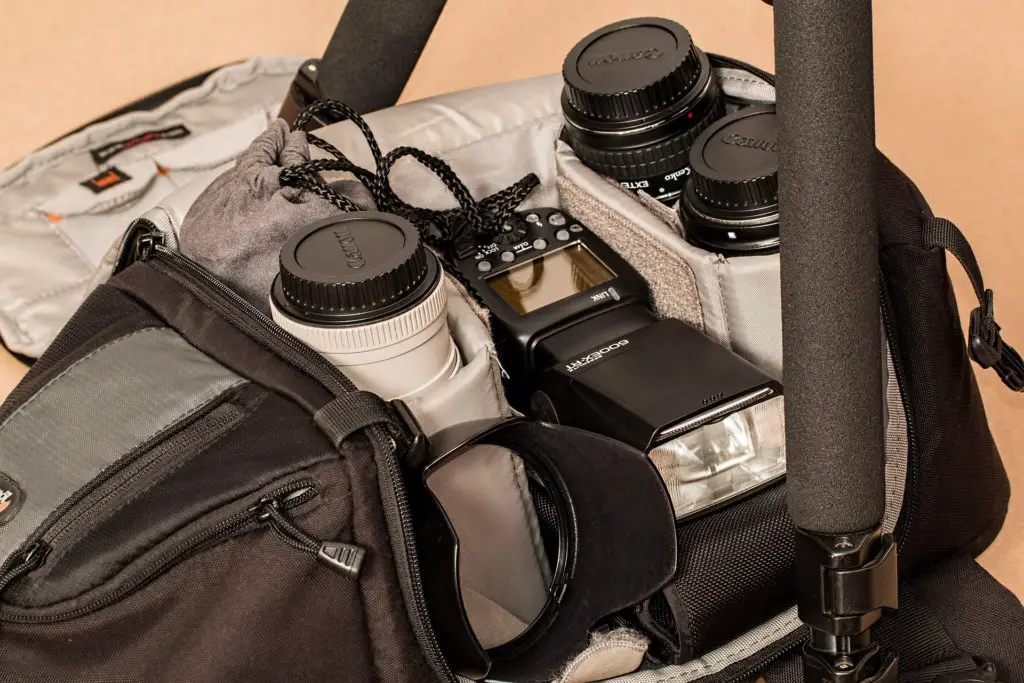
The Lowepro slingshot camera bag pictured here.
One of the biggest decisions you’ll need to make is this: Do you want to carry your gear on your back, or roll it like a suitcase? If the weight of it all is too much for you to carry in a pack over long distances, or a suitcase-style seems awkward and bulky, you can opt for a smaller bag like the Lowepro Slingshot Series Sling Bag, or maybe a medium sized bag in something like the Tenba’s Shootout 24L Backpack or the larger, but modular designed Peak Design Travel Line 45L. These are all bags that I still own and use depending on my needs on any given day. If you have a lot of weight to haul, you can opt for something like the AmazonBasics Convertible Rolling Camera Backpack. You could drag through the airport or on the sidewalk on the way to your next shoot, but you can pick it up with straps or pack it on your back for an afternoon hike, or across rough terrain where wheels aren’t compatible. Plus, there’s a place for that pesky, awkward tripod to live. Does it get any better than that?
With all of this gear in tow, you could rest assured that you would be ready for many shooting opportunities that may arise. It is always best to be ready for an interesting shot, than to regret not having the right gear to capture what you envision.
For more information about the website or to get answers to queries regarding travel, photography and everything in between, don’t hesitate to contact me.
Leave a Reply